There’s something special about a perfectly smoked brisket. The tender meat, the rich flavor, and that satisfying bark—it all comes together to create a dish that’s hard to forget. But before you can achieve that perfect smoke, there’s one crucial step: trimming. I remember my first attempts at trimming a brisket. Let’s just say it wasn’t pretty. Too much fat here, not enough there, and a bark that was more like a sad crust. But those early struggles taught me a valuable lesson: the right trim is the foundation of a great brisket.
Trimming a brisket isn’t just about cutting away excess fat. It’s about creating a balance. You want enough fat to keep the meat juicy and flavorful, but not so much that it prevents the smoke from penetrating evenly. A sharp knife is your best friend here. With the right tools and a little practice, you can master the art of trimming. And don’t worry if your first few tries aren’t perfect. Even if you trim a bit too much or too little, your brisket will still turn out delicious. The key is to keep experimenting until you find that sweet spot.
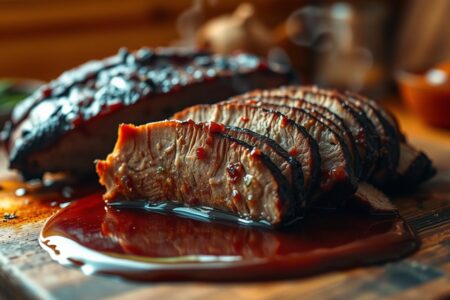
When you get the balance right, the difference is incredible. The fat melts evenly, the meat stays tender, and the smoke infuses deep into the tissue, creating a flavor that’s nothing short of amazing. Trimming your brisket isn’t just a step—it’s the start of something special. And in the following sections, I’ll walk you through the entire process, so you can achieve that perfect balance every time.
Preparing Your Brisket for a Successful Trim
When I first started working with briskets, I learned that preparation is key. The first step is to remove the brisket from its packaging and lay it on a large cutting board. This gives me a clear view of both sides—the fat cap on top and the lean meat on the bottom.
A packer brisket, typically weighing between 12-14 lbs, can be a bit intimidating. But with the right tools, like a sharp fillet knife and powder-free gloves, I can manage its edges and layers efficiently. I always make sure to handle the brisket safely, focusing on proper side handling and cutting techniques to avoid accidents.
One thing I’ve found crucial is time. Trimming a packer brisket isn’t a rush job. I set aside plenty of time to work through each layer, ensuring even trimming. A clean, cold brisket is much easier to work with than a warm one, as the fat is firmer and easier to cut through.
Proper preparation makes the trimming process more enjoyable and effective. By carefully inspecting and handling the brisket, I can ensure that the final result is a balanced cut with just the right amount of fat and meat. This attention to detail not only enhances the flavor but also helps prevent burning edges during smoking.
Remember, the initial preparation sets the stage for a perfect trim. Take your time, use the right tools, and handle the brisket with care. This will make the entire process smoother and the outcome more satisfying.
Understanding the Anatomy of Your Brisket
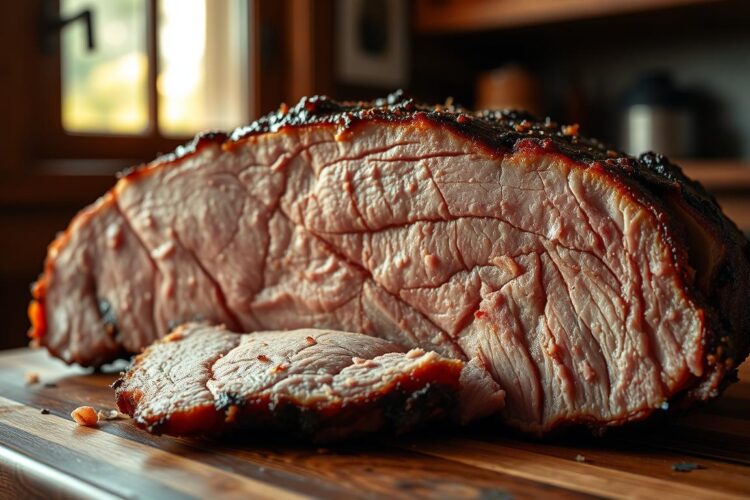
Learning about the different parts of a brisket has been a game-changer for me. A brisket is made up of two main sections: the flat and the point. The flat is the leaner part, while the point is richer and more flavorful. This balance is key to achieving that perfect smoke.
The flat point, which is the long, rectangular side, is where you’ll find most of the meat. On the other hand, the point is the knobby, meatier end that’s packed with flavor. Understanding these parts helps me make precise cuts during trimming, ensuring I don’t remove too much or too little fat.
During smoking, the fat in the point melts and infuses the meat with moisture and flavor. The flat, being leaner, cooks evenly and stays tender. Knowing this, I can trim irregular pieces to prevent uneven cooking. The bottom and side areas also need attention to ensure a uniform trim.

Breaking down the brisket’s structure helped me achieve a consistent and appealing trim. By focusing on each part and how it cooks, I can select the right trimming method every time. This knowledge not only enhances the flavor but also ensures a beautiful bark that’s worth sharing.
Trimming the Brisket
When it comes to trimming a brisket, precision is key. I always start by addressing the underside, carefully removing any excess fat to ensure even cooking. This step is optional but highly recommended for achieving a balanced flavor.
To tackle the harder fat layers, I use a sharp knife and a reliable tool to guide me through the process. The goal is to remove any unrenderable fat without sacrificing the meat. I’ve found that a sawing motion works best for trimming fat evenly, ensuring a clean finish.
Sometimes, I refer to instructional videos to refine my technique. These resources offer valuable insights into maintaining uniformity and avoiding common pitfalls. By following these methods, I can ensure that the brisket is trimmed to perfection, ready for a delicious smoke.
One of the most important steps is removing excess layer fat. This ensures that the smoke can penetrate evenly, enhancing the overall flavor. I take my time with each cut, making sure every part of the brisket is prepared for the best possible outcome.
Trimming a brisket is all about balance. By following these steps and using the right tools, you can achieve a beautifully trimmed brisket that’s both flavorful and tender. Remember, patience and precision are your best allies in this process.
Enhancing Flavor and Achieving a Beautiful Bark
After trimming, the brisket is ready for the next step: enhancing flavor and creating a stunning bark. A well-crafted BBQ rub is essential for this process. The right rub enhances the trapped juices and helps build a beautiful bark. I use a blend of spices that complements the natural flavors of the meat, ensuring a rich, smoky taste.
My favorite brisket recipe involves specific injections and rubs for added flavor. The rub is applied generously, allowing the seasonings to seep into the meat. This step is crucial for developing a flavorful bark. I also monitor the bark closely as the brisket smokes, ensuring it doesn’t become too thick or overpowering. A perfectly smoked brisket may only need an extra inch of seasoning for balance.
The smoker plays a vital role in this process. Maintaining the right temperature ensures the bark develops evenly. A good rub applied before smoking helps seal in the flavor. The fat cap, kept at an ideal thickness, is crucial for maintaining moisture and taste. A controlled cooking process leads to consistently delicious results, with the bark adding a satisfying texture to each bite.
Wrapping Up Your Brisket Trimming Journey
Every time I step into the kitchen to prepare a brisket, I’m reminded of the journey that’s brought me here. Cooking isn’t just about following a recipe; it’s about understanding the nuances of each ingredient, especially when it comes to something as rich and flavorful as a brisket.
One of the most important lessons I’ve learned is the significance of the fat top. It’s not just about aesthetics; it’s about ensuring that the fat melts evenly, infusing the meat with moisture and flavor. I’ve found that removing a chunk of excess fat can make a world of difference in the final result.
Timing plays a crucial role in this process. Even a slight difference of an hour can affect how the brisket cooks. Sometimes, all it takes is a small bit of adjustment to perfect your technique. The key is to find the right way to trim your brisket.
After each session, I end up with a lot of notes that help me refine my method. I encourage you to click on additional resources and videos for more guidance. Drawing inspiration from authentic Texas BBQ styles has been instrumental in shaping my approach.
In the end, it’s all about the process. Every attempt, even if it’s not perfect, is a step toward mastery. Embrace the learning curve, and remember that every mistake is an opportunity to improve. Happy cooking!